
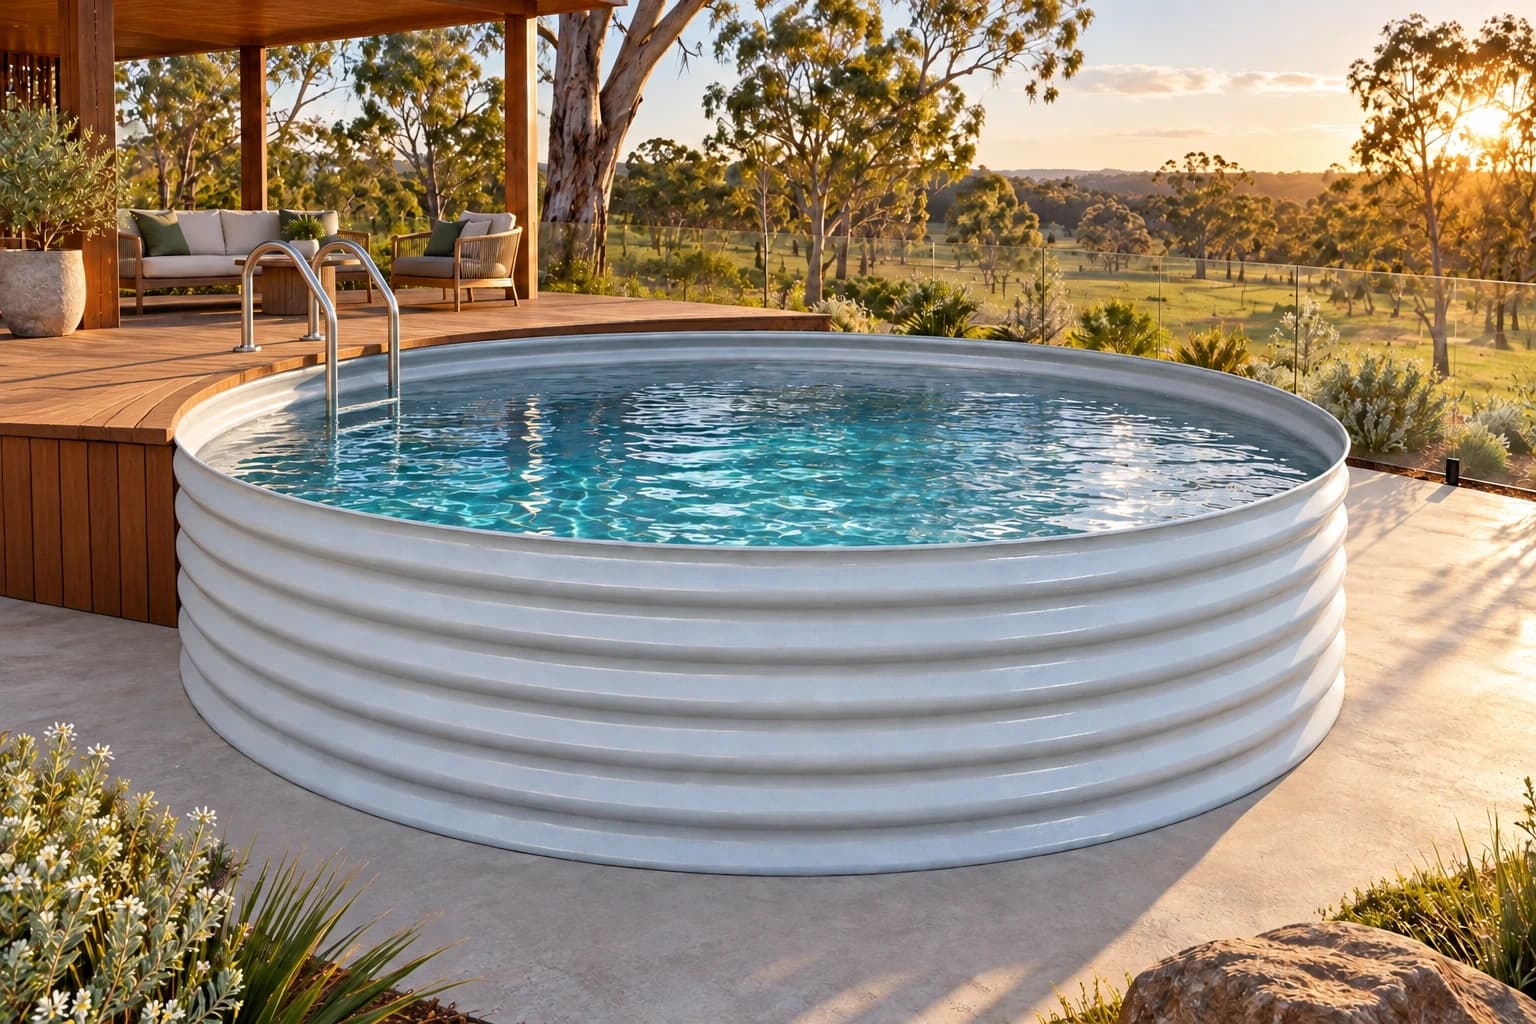
Does a plunge pool need a concrete slab?
For a Tru Blu above-ground steel plunge pool, reinforced concrete is not automatically the only foundation option. A compacted granular base may be suitable where the ground and supplied installation detail allow it.
Both options must provide continuous, flat, level support across the entire floor and perimeter. The foundation must remain stable under the filled pool and retain its supporting material through rain, splash water and runoff.
Road base vs concrete: how to choose
Road base can suit a project where a granular foundation is permitted and the ground beneath it is firm and suitable. Its performance depends on preparation, compaction and edge retention. A loose pile of gravel is not a finished pool foundation.
A reinforced concrete slab may suit the specified foundation design or a coordinated construction plan involving nearby paths and other works. Concrete still needs a suitable supporting ground layer; pouring over soft or unstable material does not solve the underlying problem.
Compare the actual site scope rather than assuming one option is always cheaper. Excavation, material supply, compaction, drainage, reinforcement, access and labour affect the cost. Use the foundation detail for your installation to obtain comparable quotes.
Preparing a compacted road-base foundation
Preparation starts beneath the new material. Remove grass, roots, organic topsoil and soft pockets, then establish a firm formation across the footprint. Place the specified granular material in controlled layers and compact each layer using suitable equipment. Compacting only the surface of a loose heap leaves the material underneath inadequately prepared.
Retain the edges so rain and splash water cannot wash material out from beneath the shell. Check the finished level in several directions and remove sharp protrusions and debris before placement.
The material, layer depth, any protective bedding and extension beyond the shell come from the supplied foundation detail. Do not substitute a specification from another pool or property.
Preparing a concrete slab for a plunge pool
Follow the construction detail for slab dimensions, thickness, reinforcement, cover and curing requirements. These are site and design requirements, rather than a universal dimension for every plunge pool.
Keep the bearing surface flat and level. Arrange drainage falls in the surrounding ground and paths, where they direct water away from the foundation. An adjacent deck needs independent support and must not transfer its load to the pool’s rolled edge.
Can a plunge pool sit on pavers or an uneven base?
Bricks, isolated pads and uneven pavers do not provide the continuous support required by the Tru Blu installation detail. Packing individual points beneath the shell is not a substitute for correcting the foundation.
An existing paved area should not be assumed suitable simply because it looks level. The foundation detail, condition of the surface and support beneath it must be considered before the pool is placed.
Allow room beyond the pool diameter
A 2.2 m, 2.8 m or 3.4 m diameter describes the shell, not the full installation area. Your plan also needs space for the foundation extension, fittings, equipment, pipe routes, barrier, gate and safe access.
Leave room to remove the filter cartridge and service the UV lamp. If heating is selected, reserve an outdoor position with the clearances in the supplied heat-pump manual. Mark the layout before committing to excavation or a slab.
Your foundation checklist before delivery
Check the finished foundation dimensions, continuous support and level in several directions. Check edge retention and drainage, clear the placement route and photograph the prepared base. Complete any inspections required by your approval before the foundation is covered.
Agree delivery, unloading and placement arrangements before dispatch. After the empty shell is positioned, check the level and full base contact before filling.
Our illustrated site-preparation guide includes set-out drawings, drainage layouts and printable job records. It provides a practical sequence whether you are installing the kit yourself or coordinating trades.
Plan the complete DIY pool project
Choose the pool size and entry arrangement alongside the foundation, equipment area and barriers. Use the DIY buying page to compare kit inclusions and supply prices, then allow separately for foundations, freight, approvals and site work.
Start with the linked site-preparation guide, installation planning article and delivery checklist below. For help with a Tru Blu configuration, call 1300 376 374 or use Make it yours to calculate your package price.