
Tru Blu installation & ownership guide
Pool safety
Arrange barriers, inspections and daily safe access alongside the installation.
Use this guide with the installation detail and equipment manuals supplied with your pool. Your site approval sets the required inspections.
Approval and barriers
- Arrange the applicable approval and barrier requirements with your certifier or council before installation. Eligible NSW projects may use a CDC assessed by a suitably registered independent certifier.
- Above-ground walls, a ladder, deck or cover do not automatically replace a compliant pool barrier. Have the complete access arrangement assessed.
During work
- Secure the work area, excavation and pool throughout the installation. Arrange a compliant temporary or permanent barrier before water creates an accessible hazard.
- Keep tools, equipment, chairs and landscape items away from the barrier’s non-climbable zones.
Before swimming
- Test the gate from different open positions so it closes and latches itself. Never prop it open.
- Display the included CPR sign where it is easily seen and read. Complete the required inspection, registration and completion process.
Everyday use
- Actively supervise children near water. Fencing and equipment do not take the place of supervision.
- No diving or jumping into a plunge pool. Keep suction fittings intact and stop use if a cover, barrier or electrical component is damaged.
Illustrated installation manual
Work through the drawings and job checks below, or download the same sequence as a PDF. Open a drawing to zoom into its labels.
01Before the first fill
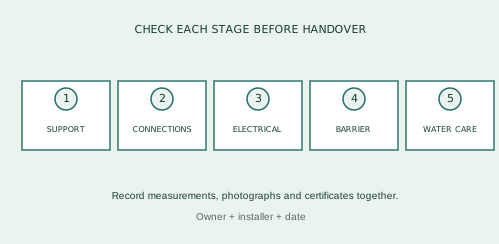
- Confirm full, level support, retained edges and finished drainage. Check no construction debris remains inside the shell.
- Verify cured seals, supported plumbing, closed drain fittings and accessible service connections. Check suction covers and fasteners.
- Complete licensed electrical work and the required barriers / inspection sequence. Keep children excluded throughout filling and startup.
- Prepare water-care supplies and agree the operating waterline. The maximum brim-full calculation is not the working fill volume.
Use the certifier’s required sequence. Registration, barrier compliance and occupation/use approval are separate records where applicable.
02Fill to the operating waterline
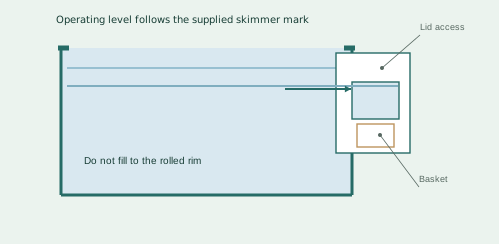
- Fill gradually and monitor the shell, base and fittings. Inspect for leaks as water reaches each connection.
- Stop filling at the operating line set for the supplied skimmer. Record the filled depth or water-meter difference if a working volume is needed.
- Open the correct circulation valves. Prime the pump and bleed filter air using their instructions before sustained running.
- Inspect the complete circuit under operation and label normal valve positions. Stop and isolate before correcting a fault.
- Fill date / water source
- Operating waterline / working volume
- Static fitting inspection
- First circulation check
Never dry-run the pump or energise an exposed underwater lamp.
03Start treatment and optional equipment
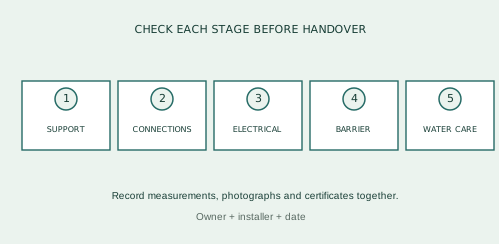
- Confirm clear circulation, clean-filter pressure and no persistent air entry. Keep equipment service lids and isolation controls accessible.
- Enable the assembled UV system with coordinated filtration operation. UV treats passing water but does not leave residual sanitiser in the pool.
- Test the water and establish the specified compatible water-care programme. Do not put concentrated chemicals into the skimmer or directly against the coating.
- If selected, commission the heat pump and submerged light using their respective procedures. Demonstrate controls and isolation.
- Clean-filter pressure
- Water test / treatment programme
- UV indicator / timer
- Heat / light tests if selected
Fresh-water top-ups are not a substitute for measured water care and a suitable sanitiser residual.
04Complete the installation record
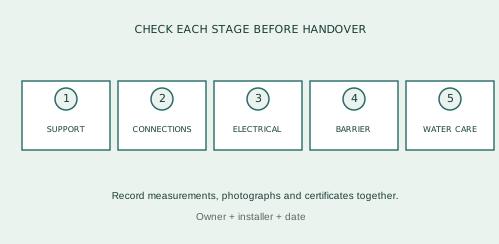
- Keep order, delivery and installation details together with the manuals. Record model and serial numbers before labels become difficult to reach.
- Attach foundation, hidden-service, fitting and equipment photographs. Keep electrical, approval, inspection and registration records.
- Show the owner basket removal, filter pressure reading, normal valve positions, controls, waterline and routine water testing.
- Check the starter kit: leaf skimmer, wall brush, telescopic pole, thermometer, test bottle and CPR sign. The optional Telsa 50 has its own pole included.
- Pool size / order reference
- Pump / filter / UV serials
- Electrical / inspection records
- Water-care instructions handed over
- Owner / installer / date
For support, email contact@trublupools.com.au with your order number, photographs and the relevant equipment model.
Manufacturer instructions & references
Keep the instructions for your exact supplied model with this guide.
NSW pool owner obligations ↗Completion checklist
- Approval and barrier arrangement checked
- Gate closes and latches automatically
- Climbable objects removed
- CPR sign displayed
- Required registration and completion recorded
Help when you need it.
Installing the kit yourself or coordinating trades? Send your order number, photographs and the step you need help with.
contact@trublupools.com.au ↗