
Tru Blu installation & ownership guide
Filling and commissioning
Move from a completed installation to clear, circulating water and a documented handover.
Use this guide with the installation detail and equipment manuals supplied with your pool. Your site approval sets the required inspections.
Before adding water
- Check full base support, shell condition, fittings, plumbing and electrical completion. Resolve leaks or damage before use.
- Have compliant barriers and any required inspections in place for the filling sequence. Do not leave an accessible partly filled pool unattended.
Fill to the operating line
- Use a water source appropriate for the supplied treatment programme. Fill to the marked working waterline rather than the rim.
- Observe the shell and accessible fittings during filling. If support moves, a leak develops or the shell changes unexpectedly, stop and contact us.
Start circulation
- Prime the pump and open the required valves according to the equipment manuals. Never run the pump dry or service pressurised equipment.
- Check return flow, filter operation, UV indicators and any lighting or heating upgrade. Rectify leaks before routine operation.
Test and hand over
- Test water and establish the supplied sanitiser and chemistry targets before swimming. Record the starting readings and any products added.
- Demonstrate safe equipment shutdown, basket cleaning, cartridge cleaning and the operating schedule. Leave the owner with a completed checklist and manuals.
- Complete the required approval close-out and registration. Keep certificates, warranties and commissioning records together.
Illustrated installation manual
Work through the drawings and job checks below, or download the same sequence as a PDF. Open a drawing to zoom into its labels.
01Before the first fill
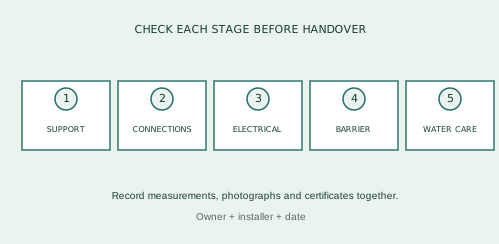
- Confirm full, level support, retained edges and finished drainage. Check no construction debris remains inside the shell.
- Verify cured seals, supported plumbing, closed drain fittings and accessible service connections. Check suction covers and fasteners.
- Complete licensed electrical work and the required barriers / inspection sequence. Keep children excluded throughout filling and startup.
- Prepare water-care supplies and agree the operating waterline. The maximum brim-full calculation is not the working fill volume.
Use the certifier’s required sequence. Registration, barrier compliance and occupation/use approval are separate records where applicable.
02Fill to the operating waterline
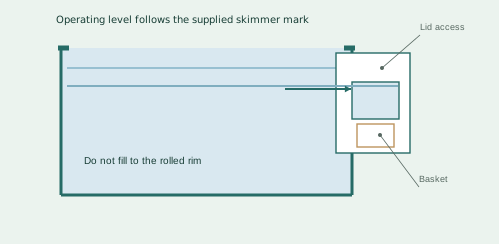
- Fill gradually and monitor the shell, base and fittings. Inspect for leaks as water reaches each connection.
- Stop filling at the operating line set for the supplied skimmer. Record the filled depth or water-meter difference if a working volume is needed.
- Open the correct circulation valves. Prime the pump and bleed filter air using their instructions before sustained running.
- Inspect the complete circuit under operation and label normal valve positions. Stop and isolate before correcting a fault.
- Fill date / water source
- Operating waterline / working volume
- Static fitting inspection
- First circulation check
Never dry-run the pump or energise an exposed underwater lamp.
03Start treatment and optional equipment
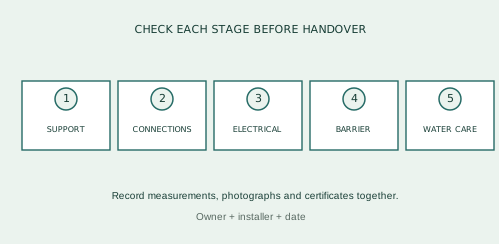
- Confirm clear circulation, clean-filter pressure and no persistent air entry. Keep equipment service lids and isolation controls accessible.
- Enable the assembled UV system with coordinated filtration operation. UV treats passing water but does not leave residual sanitiser in the pool.
- Test the water and establish the specified compatible water-care programme. Do not put concentrated chemicals into the skimmer or directly against the coating.
- If selected, commission the heat pump and submerged light using their respective procedures. Demonstrate controls and isolation.
- Clean-filter pressure
- Water test / treatment programme
- UV indicator / timer
- Heat / light tests if selected
Fresh-water top-ups are not a substitute for measured water care and a suitable sanitiser residual.
04Complete the installation record
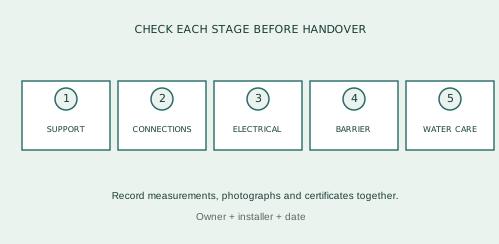
- Keep order, delivery and installation details together with the manuals. Record model and serial numbers before labels become difficult to reach.
- Attach foundation, hidden-service, fitting and equipment photographs. Keep electrical, approval, inspection and registration records.
- Show the owner basket removal, filter pressure reading, normal valve positions, controls, waterline and routine water testing.
- Check the starter kit: leaf skimmer, wall brush, telescopic pole, thermometer, test bottle and CPR sign. The optional Telsa 50 has its own pole included.
- Pool size / order reference
- Pump / filter / UV serials
- Electrical / inspection records
- Water-care instructions handed over
- Owner / installer / date
For support, email contact@trublupools.com.au with your order number, photographs and the relevant equipment model.
Manufacturer instructions & references
Keep the instructions for your exact supplied model with this guide.
NSW pool owner obligations ↗Completion checklist
- Support, fittings and electrical work checked
- Barrier and inspection sequence satisfied
- Working waterline correct
- Pump, filter and UV operational
- Water tested before swimming
- Records and manuals retained
Help when you need it.
Installing the kit yourself or coordinating trades? Send your order number, photographs and the step you need help with.
contact@trublupools.com.au ↗